Green Makeup Look

Friday 29 April 2011

Last week I practised a green look on my cousin, but this time using some false lashes I got off ebay a while ago. They usually come in a 10 pack for around 99p on eBay (from China), but in all honesty they're not that great. Last time (click here) I used the Girls Aloud Eylure lashes by Nicola on my cousin, she even commented that they were more comfortable than these ones, but that's expected for 99p!

Anyway, here's what I used for the look:
> Manly 120 palette - greens and gold
> MAC Fluidline Rapidblack
> New CiD Baked Duo Compact
> NYX Makeup Box - peach-pink lip colour (click here)

So here's how it looked:


I used a golden yellow for the inner corners of the eye, followed by a light green over the middle of the eyelid and darker green for the outer wing and lower outer lashline. After applying the false lashes (they get longer towards the outer eye), I used MAC fluidline to fill in any gaps and use it as a topliner. For the cheeks I used a bit of the baked bronzer from the New CiD Baked Duo compact, then more of the blush from the duo. For the lips I used a peach-pink lip colour from the NYX makeup box.

Hope you liked this look, sorry I haven't blogged as frequent as I used to of late!

<3

Everyday Look - FOTD

Tuesday 19 April 2011

Recently I've taken to going for a minimal makeup look, as Summer is looming (so I'd like a more natural look) and partly because my husband complains when I spend a while doing makeup. So of late I've cut out eyeshadow, which only really shaves a minute or two off my makeup regime, but every minute counts eh?
Also, looking at the poll I conducted on my facebook page (here), most of the votes had been for the natural/everyday look, so here's one that I use. I tend to like a pop of colour on my lips when I'm wearing such a minimal look, so for this look I used OCC lip tar in Anime, but for an all natural look, you can use browns or peaches =)

Products used:
> UDPP in Sin
> Eyeliner (either MAC fluidline, UD 24/7 eyeliner or Ink for Eyes in Zero, or Sleek Inkpot!)
> Khuraira ACC in Light 
> Dior Iconic mascara
> Sleek blush in Sunrise
> OCC lip tar in Anime 

I used UDPP in Sin all over the eyelid, up to the brow bone. I then used UD 24/7 eyeliner in Zero for the topliner and bottom. After applying concealer to under the eyes, I used Dior Iconic mascara for top and bottom lashes, followed by the Sunrise blush by Sleek on the cheeks. I chose this colour cos it's a bronzer-type shade, but Rose Gold is also a good choice for a natural everyday look, just with a bit of gold flecks for some shimmer.
After using Vaseline on the lips, I added OCC lip tar in Anime to the lips for a pop of colour.

Et voila:
What do you think of this simple look? I think it's very wearable and for most skin tones aswell as Sin is a neutral shimmery colour.
Let me know your thoughts/suggestions for more natural looks!


<3

Asian Bridal-esque makeup look

Thursday 14 April 2011

Hello my lovelies, so as aforementioned, I did a makeup look on my cousin on Monday night, it was mainly just to practice applying false lashes, but I thought I may as well go the whole hog and make it a full on makeup look, something that would be more suited to the second day of an Asian wedding.
I used:
> Models Own "white pearl" eyeshadow and 
> Manly palette
> Arabic palette, 
> UD 24/7 eyeliner in Zero
> Eylure Girls Aloud lashes in Nicola
> New CID Baked Duo compact
> OCC lip tar in Anime & Feathered
> Red Herring (Debenhams OB) lipgloss - light pink colour

And here's how it looked:
 
 
And one Bollywood one, showcasing her henna skills:
There's a hint of brown with the pink, an unlikely pair of colours, but very common in asian thread and beadworks for some reason!
What dyu think of the colours? Would you like to see other colour combinations?

<3

Makeup Course

Wednesday 13 April 2011

For those of you who follow my twitter, you may have seen me tweeting about a "Makeup Course". I completed a Pro Makeup Course last week Thursday (2 week Harriet Ellis course), allowing me to officially call myself a Makeup Artist =D
The first day we covered cleansing, toning & moisturising and foundations and concealers, the second day we used blushers and bronzers, third day eyeliner & mascara and natural eye makeup. The second week: lesson 4 we covered smokey eyes, day 5 false eyelashes and day 6 we had a test using everything we'd learnt starting from day 1!
It was a good intense course and we got to practice on a different partner each day, so I got acqainted with a lot of skin types and colours. Prior to this course I wasn't 100% on choosing a foundation and I'd never applied falsies to anyone other than myself, but now I'm super confident and ready to do anyone!

I was really pleased with my test on day 6, I had a lovely girl who was quite conscious about coverage of skin flaws and knew her makeup well, so I was a bit worried about whether I could please her (cos makeup artistry is all about pleasing your clients!)
I managed to outdo myself though, as she was really pleased and kept gushing about how good it looked, so all in all I think that was even better than the certificate we got!!

I couldn't get a before picture as she was very conscious, but I managed to get afters, so here's how it looked!
 
All in all, I had a great time at the course, learnt some new tips and tricks and now feel even more confident to do any skin type!

I've just started a new job today (Tuesday) so I'm super knackered from travelling (cos its even further than my last job!) but I'll try and blog about a makeup look I did on my cousin on Monday night, lashes and all! =)


Hope you liked this look, I'll try getting round to doing some makeup looks on myself again ;)


<3

Hauls and an Apology

Wednesday 6 April 2011

Yes an apology with a capital A because I haven't blogged in over a week; firstly it was my anniversary weekend last weekend, then I had a family emergency and have been in and out of hospital for my new baby nephew, born on our anniversary!
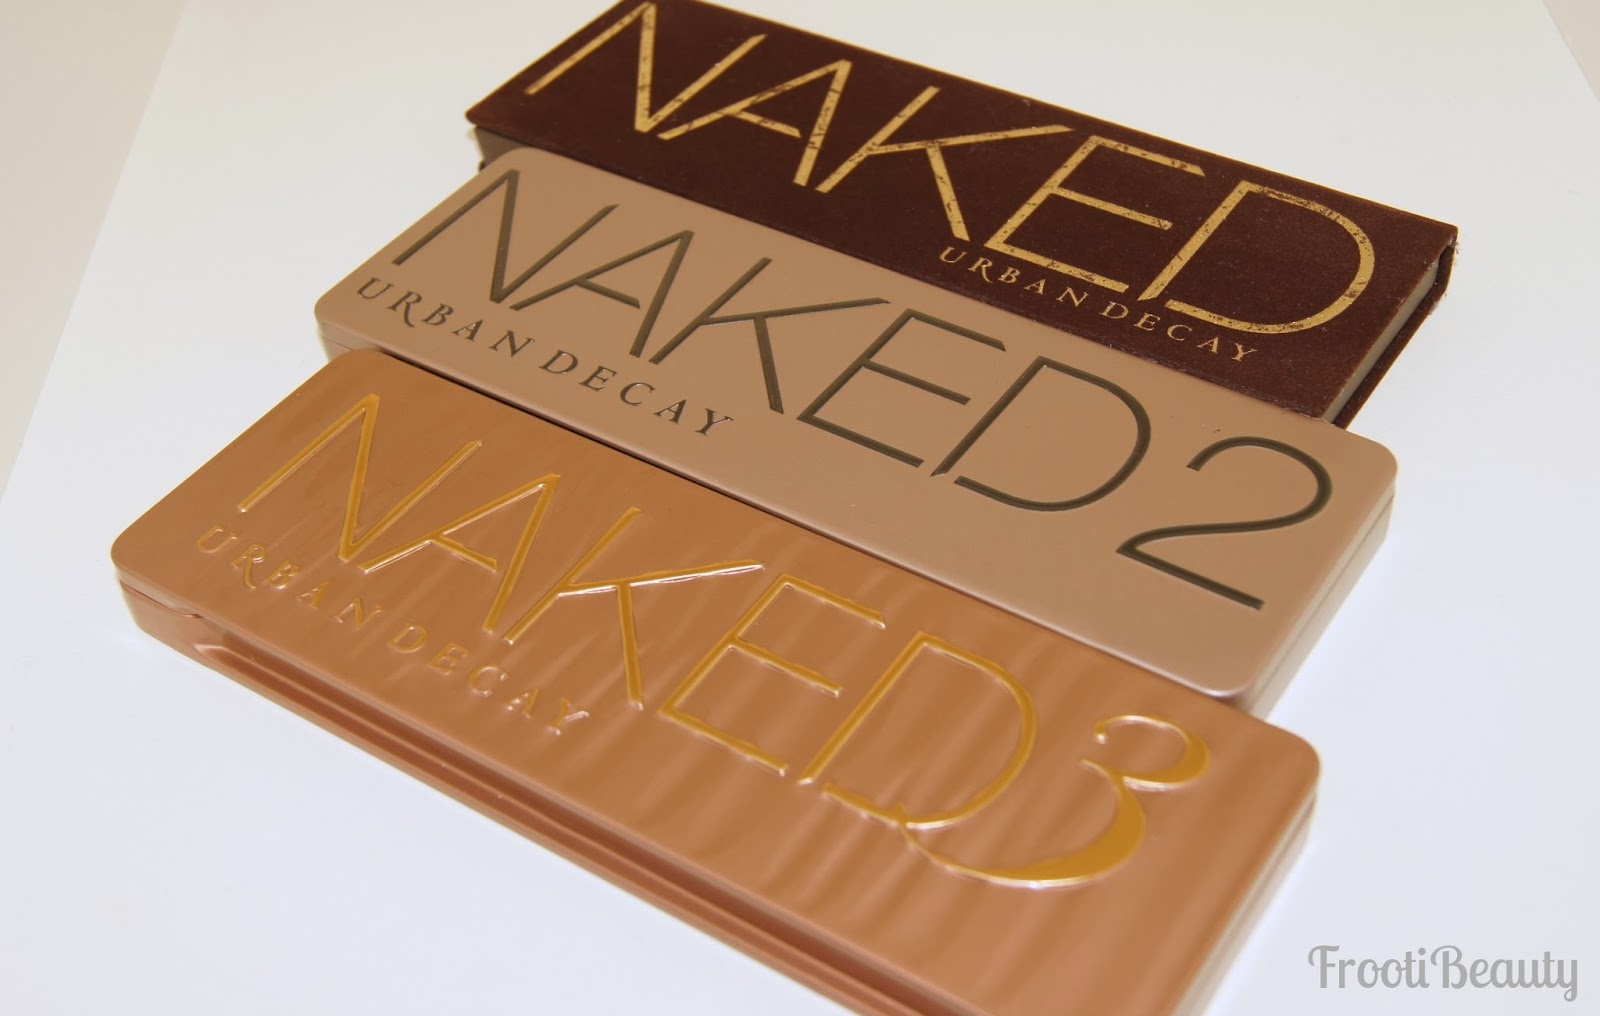
So I do apologise for the lack of posts, but I have an ELF haul and Urban Decay new palette to review for you, so here goes.
First up, my ELF haul: 
Eyebrow Kit, Elf Lip Lock Pencil, Makeup Mist & Set and Dramatic Lash Kit.
So far I've only used the Eyebrow Kit, of which the powder is slightly reddish-brown and lighter than my eyebrow colour despite being "dark" of the range. The gel part of the duo however, is more suitable for me; it isn't as pigmented as expected, but nevertheless does the job. 

As for the Elf Lip Lock Pencils, I bought one for me and one for my makeup kit I'm building up, as clear lipliner is more versatile for the job. I haven't yet experienced bleeding from any lip colours I've worn so far, but I'll try and review it as soon as poss. I have read on other reviews that although the twist up design is great, it can break easily, so that's a pointer to look out for if you're considering buying this.

The Makeup Mist & Set is still unused as I tend to use the Urban Decay All Nighter setting spray, but when I sprayed this Elf spray on my hand, it did smell a little funny. This is probably because it contains Cucumber, which tends to smell a little, but that should mean this spray is a little more kinder to skin, especially because it also contains Aloe, Green Tea and Vitamins A, C & E. The smell however, does wear off once dried.
However, compared to the Urban Decay All Nighter spray, the Elf spray does contain parabens, whereas the UD one is oil & paraben free. Parabens are a cause for concern in most cosmetics these days, especially when you use the product a lot, there has been links to skin cancer. Truthfully, you'd have to swim in parabens to get cancer, so depending on how frequent you use products with parabens in and how much of it, you should be ok. But I just thought I'd let you know this product does contain parabens.
I bought the dramatic lashes cos they looked like the fullest and most natural looking ones out of all the Elf lashes, so I shall test them soon and see for myself!

Urban Decay Dangerous Palette
L-R top: Haight, Mildew, Virgin
24/7 liner in Rockstar
L-R bottom: Oilslick, Rockstar, Gunmetal
Haight & Mildew
Mildew & Virgin
Oilslick & Rockstar
Rockstar & Gunmetal

I bought this palette purely because Greed PP was in it and I don't have it. I already have 5 of the 6 eyeshadow colours AND the Rockstar 24/7 eyeliner. Stupid? Nope cos it a) had 10% off and b) I bought it from Debenhams, where I had collected enough Beauty Card points to get this for free. So I plan to maybe have a giveaway of the palette alone when I reach 500 followers.. I'll keep you posted on that one ;)
As for swatches, the colour Mildew is the only eyeshadow I didn't have, but I had the 24/7 eye pencil, so swatched that in place of the shadow, so you get an idea of the colour.
All the rest were swatched from my own Book Of Shadows' collections (and Naked palette for Virgin eyeshadow) and the Rockstar I already had.
And in daylight:
Here's the Primer Potion swatched next to the shadows and eyeliner: 
And blended in:
I already have the Sin Primer Potion, which I use every day on its own, so here are the two PP's next to eachother for comparison:
And blended in:
As you can see, Greed PP is a golden yellow colour, whereas Sin is a champagne/flesh toned colour. I love both of them so far, I'll figure out how best to use Greed though!

The other new palettes include the Feminine Palette and the Fun palette. The Feminine palette comes with Eden PP, a nude matte shade that would best suit lighter skin tones in my opinion, although it can be used to correct dark eyelids before applying eyeshadow.
The Fun palette comes with the original PP.

Which of the new palettes from Urban Decay are you interested in?
And which products would you highly recommend from Elf?


Hope this post was useful to you, let me know what you think of the products =)

<3
 
template design by Studio Mommy (© copyright 2015)